Last Updated on: December 28, 2018
In the previous post I wrote about the “easy” accessories mounting. April 30th it was time to focus on the harder stuff. Indeed, things are not as easy as it may seem, something I was about to find out.
Accessories: dismantling & mounting instructions
It’s been over a year since I bought the Wunderlich water cooler protection grills for my BMW R1200GS Adventure motorcycle. Postponed because .. well, time, energy, procrastination and priorities. And it entailed quite a bit of screwing, dismantling, very likely accompanied by (some) cussing and swearing.
A year later it was time to find out just how not easy it would be.
The instructions that comes along with the kit, although pretty clear, does not in granular detail elaborate on all potential challenges. The video, in which a professional mounts them, make things look fairly easy.
It wasn’t, at least not for me. Could be the ten thumbs problem?
Anyways, started off with the “easy side”. BMW R1200GS (Adventure) is an asymmetrical piece of motorcycle engineering. Reason being the boxer engine itself, which affects the entire design of the motorcycle. Human like in a way, since we’re not symmetrical either.
Dismantling hazards
In the video one is instructed to, after removing a bit of plastic, insert a clip for the new screw. The guy in the video make this look easy. But you can’t really see what you’re doing in there. After some cussing and swearing I started the process of removing the whole plastic front.
To do that you first have to unscrew the upper crash bars. That’s easy, just replicate what’s shown in the video. One piece of warning, the plastic on this motorcycle is anything but sturdy. Partially probably in an attempt to curb weight, though I wonder if cost cutting/reduction is more than a part of it. Certain parts of the plastic is rather brittle so be gentle when you unscrew things!
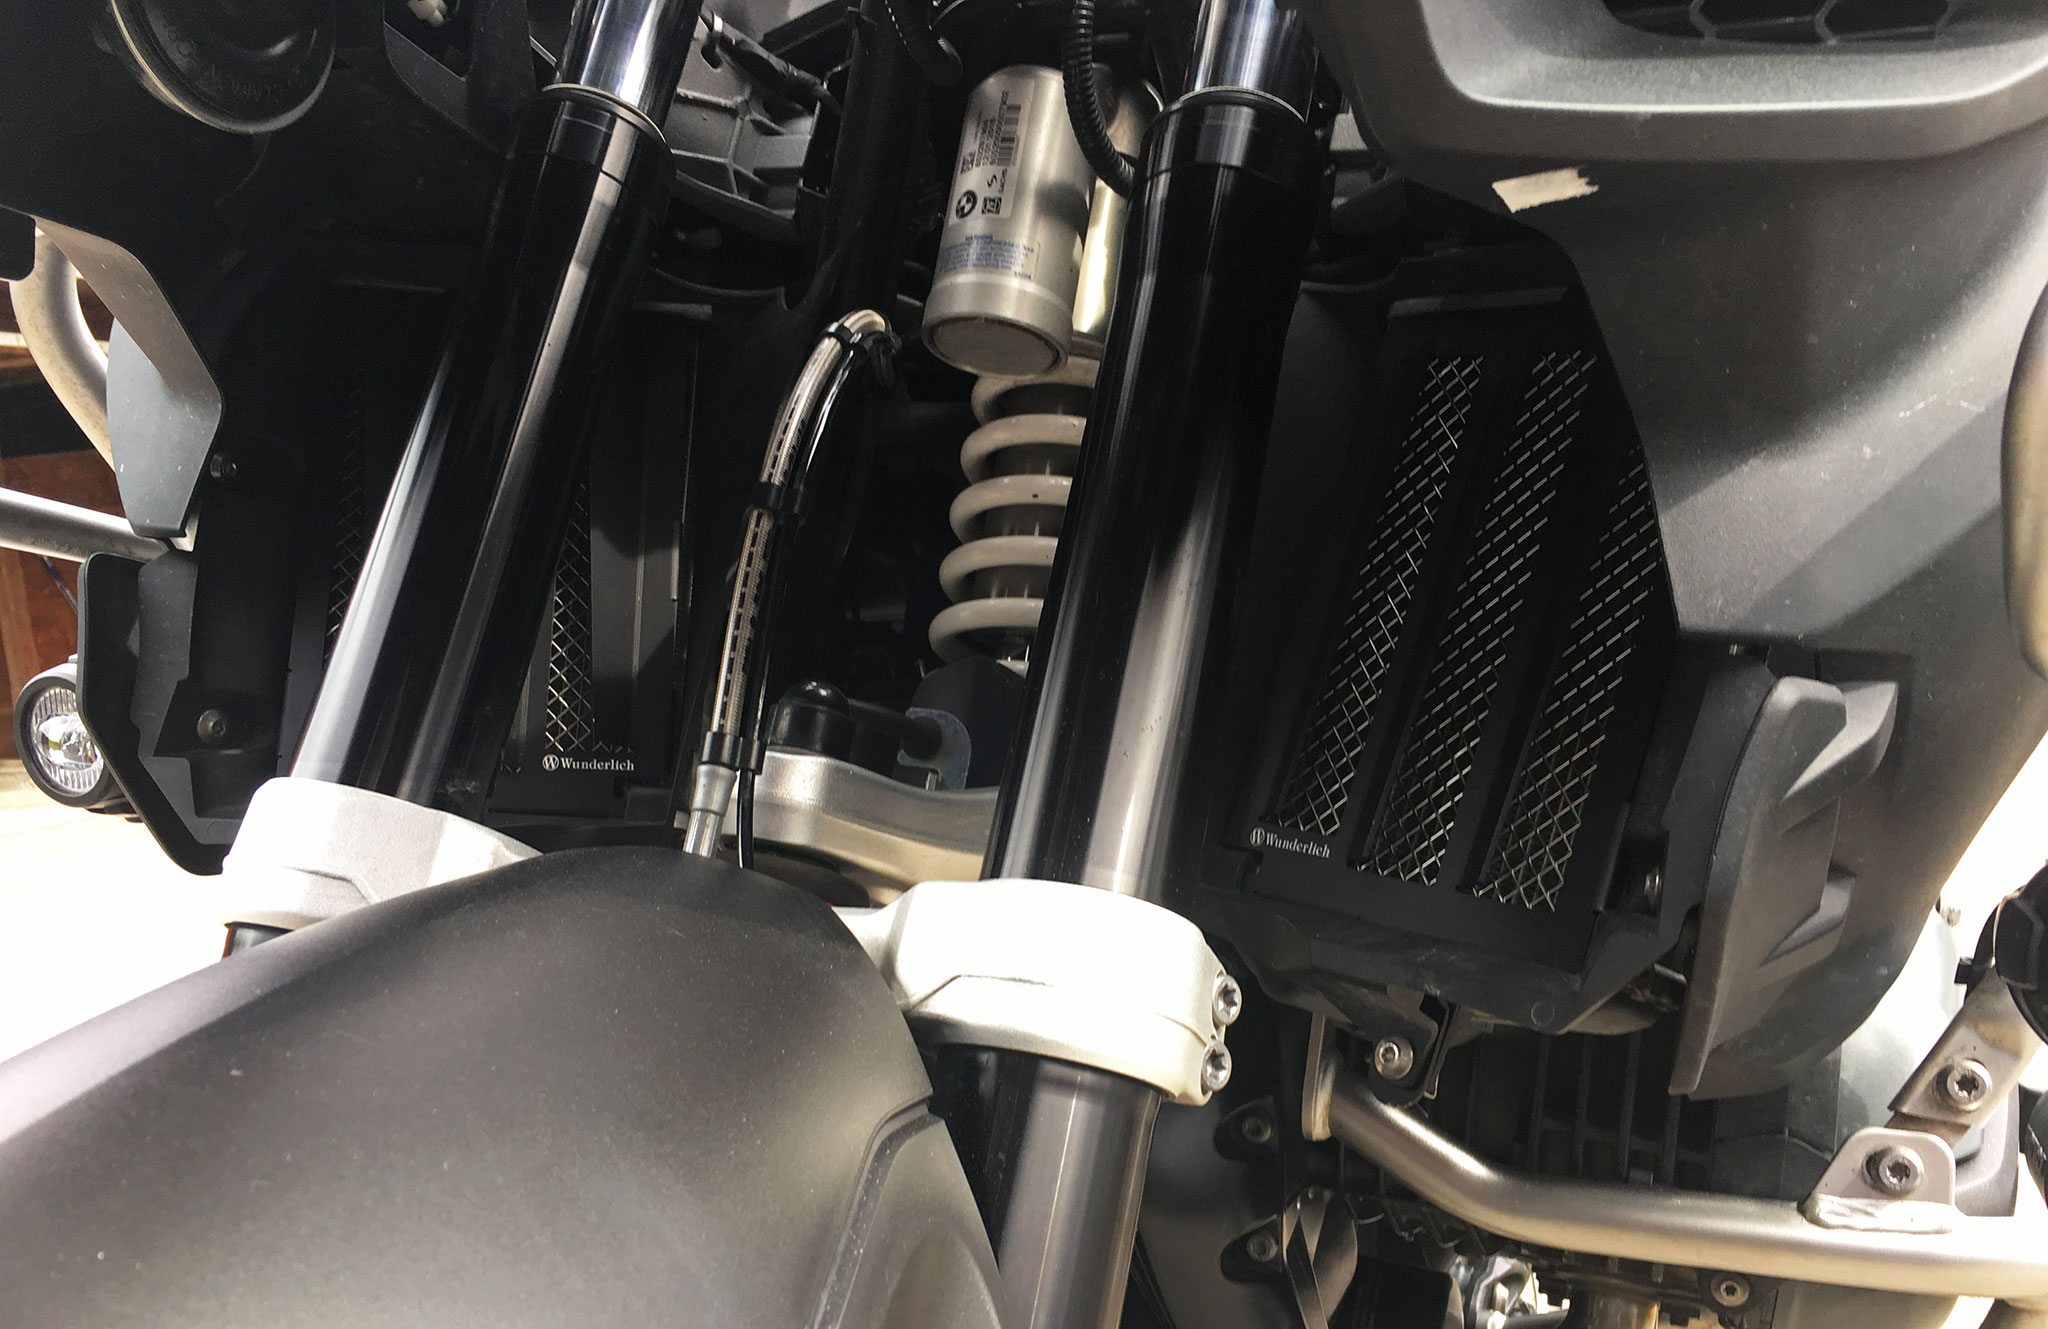
Finally done, looks good!
it took a while but finally I had them set. The product is very well designed and I’ve no doubt they will protect the radiators. To what extent I’ll be exposing them for anything that potentially could cause harms is a whole other story.
Adjustable Screen Strengthening Brackets
If you like me, have a bigger than original windscreen on your motorcycle, then you know about the problem. In strong winds, turbulence and/or higher speed, the windscreen starts wobbling.
In fact, you don’t really have to ride very fast for this to happen, IF it’s windy.
There are a few solutions about, all looking fairly similar. I landed on the Cymarc Adjustable Screen Strengthening Brackets. Several people had given these good reviews. Looked well engineered as well. Ordered during winter the time had come to put them on.
Again instructions that came along with the kit was well, not good. Found a videoclip that helped a lot more. However, the guy in the video seems to mount the brackets with the screen on. For me it was much simpler to remove the screen and then start the process.
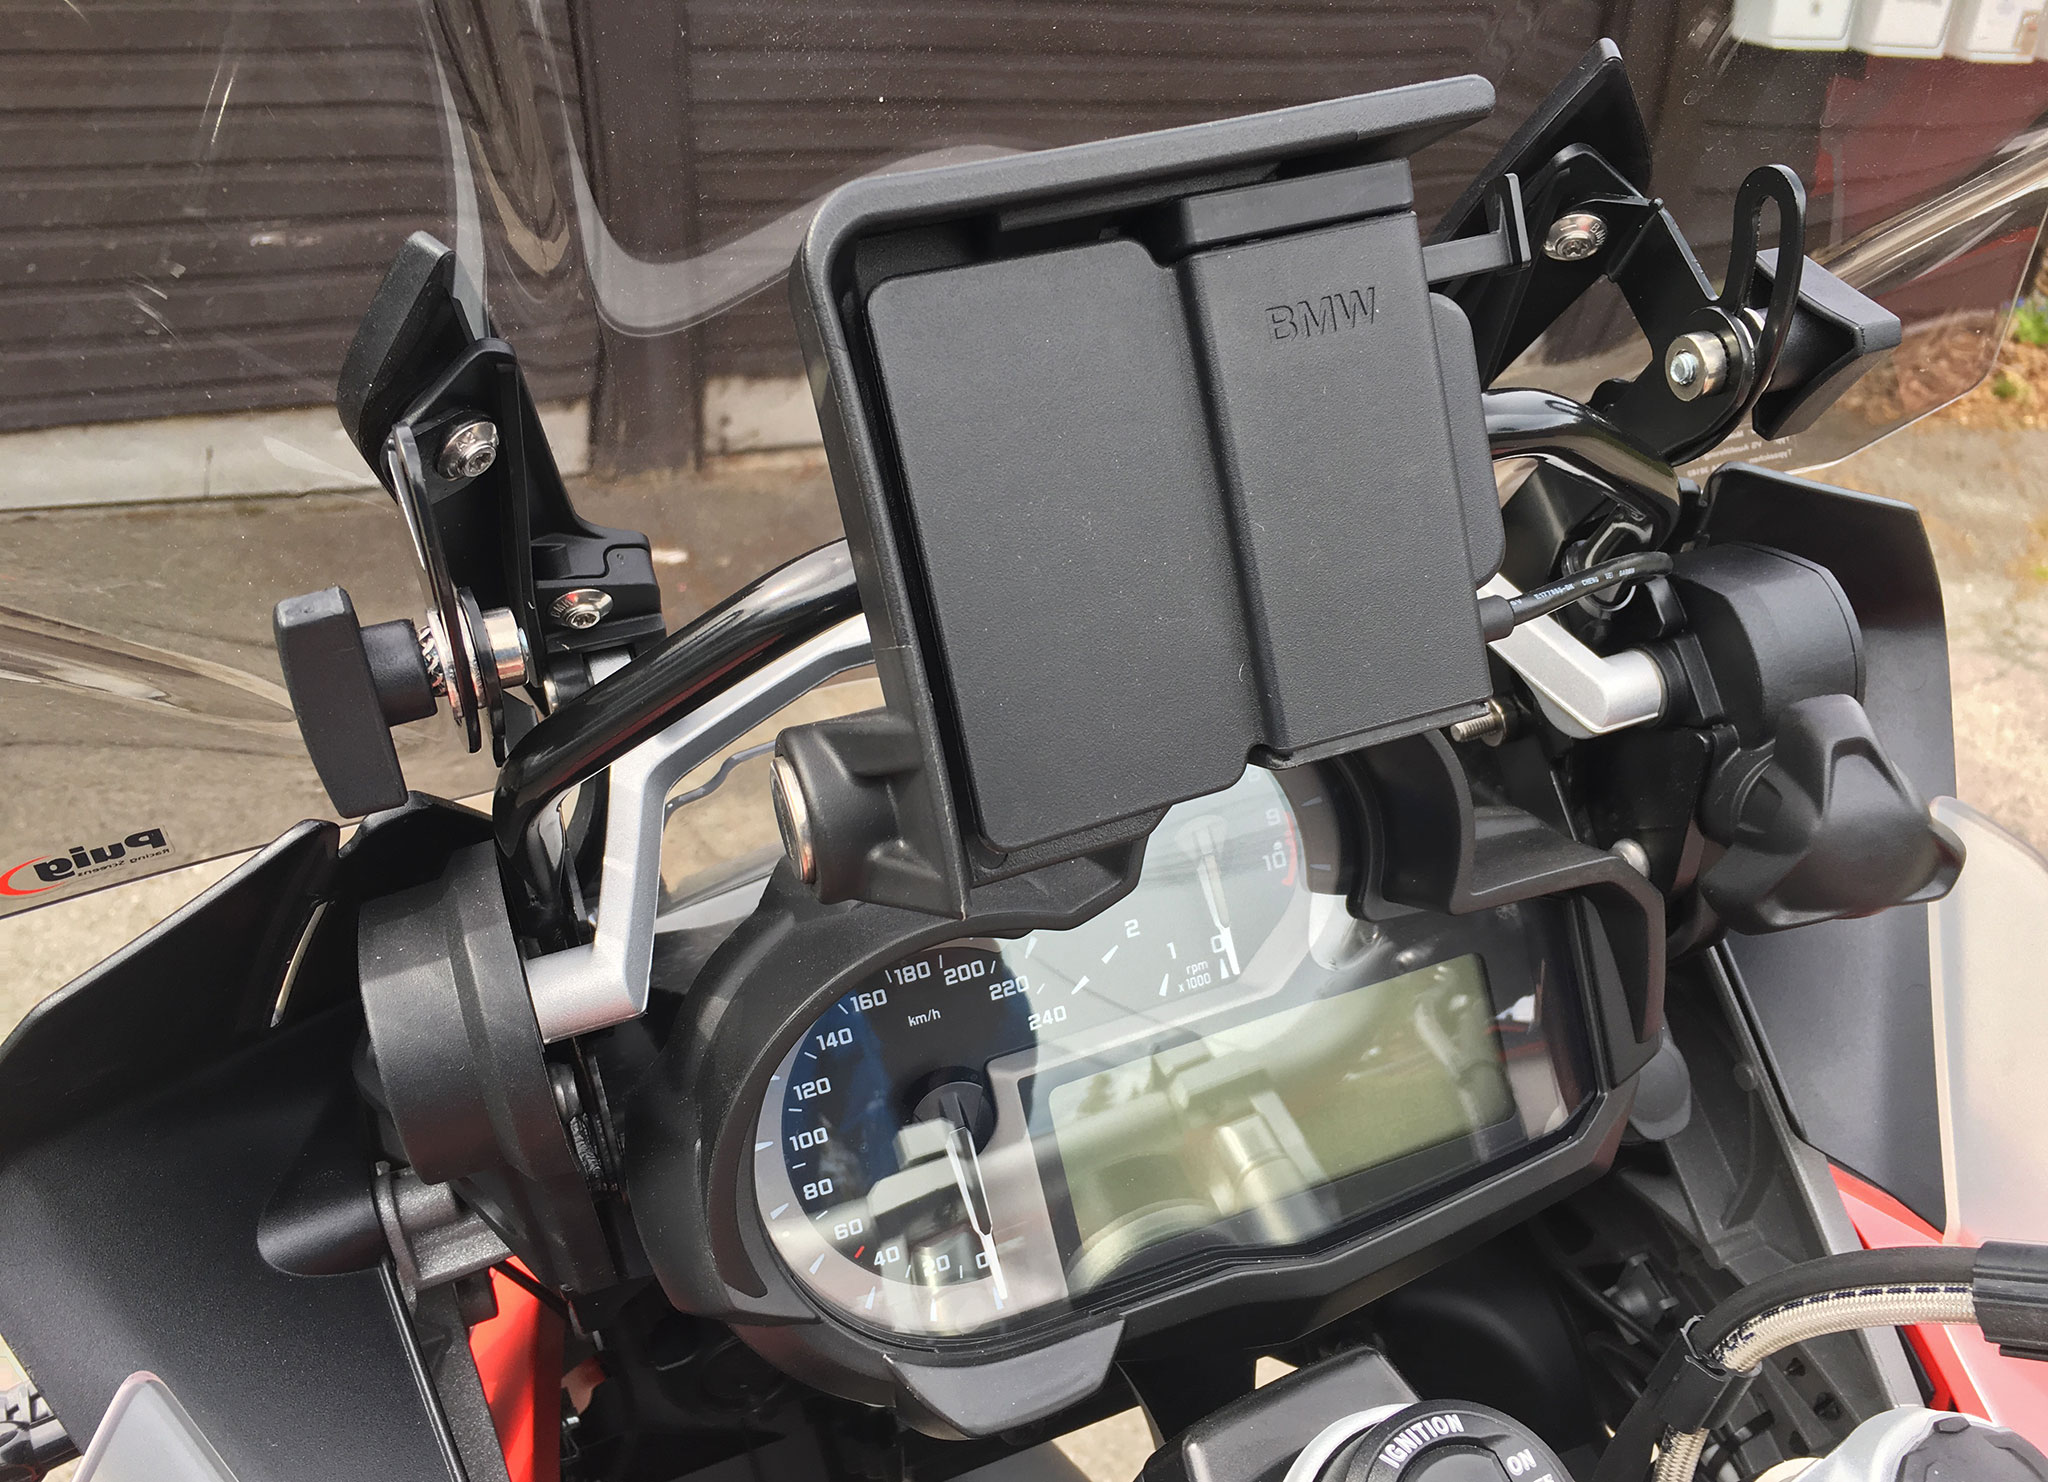
Hey presto!
It could be that all the previous accessories mounting jobs have helped to combat the frustration level. Or that that my (buried) waned talent for screwing and fixing things is slowly waking up. The brackets mount went like a breeze.
Here’s a shot slightly more from the side. The pieces are reasonably easy to fit, all you need is in the kit and appears well made.
I’ve been riding in both high speeds and strong winds. I’ve no doubt these will make the screen very stable. There are those who settle for just one but I’ve come to know the original adjustable mechanism to be quite so flimsy. A pair of brackets is definitely the best.


Update 02.05: out riding with the GSA for the first time in a week or so. I have to say, the Cymarc Brackets are probably some of the smartest I have bought. What a difference! Riding in strong wind with strong gusts, the windscreen is extremely stable.
What is more, the positive effect can also be felt on the bikes balance! If you have, or plan to get a taller windscreen than the OEM, buy a pair of these! 🙂